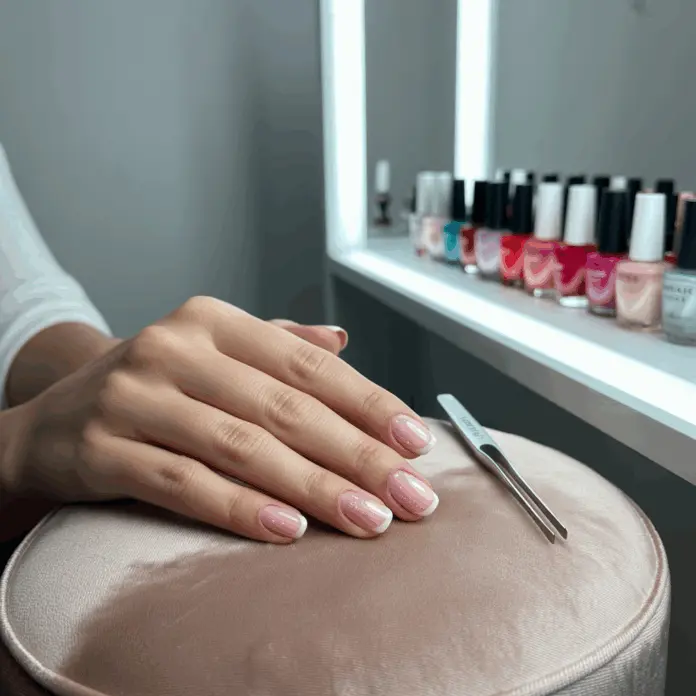
Ever caught yourself scrolling through Instagram, mesmerized by perfectly polished acrylic nails on your favorite beauty influencers and wondered, “How do they get their nails *so* flawless?” Whether it’s for a special event, a fresh seasonal style, or just the everyday glam boost, acrylic nails can completely transform your look. But here’s the secret: flawless acrylic nails start long before the polish goes on. Knowing how to prep nails for acrylics is the game changer for durability, smoothness, and that WOW factor everyone envies.
Let’s dive into the ultimate nail prep guide that not only elevates your nail game but also ties in beauty, skincare, makeup, and fashion tips to make your entire look glow.
Why Proper Nail Preparation is Key Before Acrylic Application
Imagine building a stunning house on shaky ground—it just won’t stand the test of time. The same goes for acrylic nails. Skipping essential prep can lead to lifting, chipping, or even damage to your natural nails. Proper prep ensures your acrylics stick better, last longer, and keep your nails healthy underneath.
The Foundation of Gorgeous Acrylics
- Removes oils and moisture: Natural oils can weaken adhesion.
- Smooths the surface: Creates the perfect canvas for acrylic powder and liquid bonding.
- Sanitizes: Prevents infections or irritations.
Step-by-Step Guide on How to Prep Nails for Acrylics
1. Remove Old Polish and Cleanse
Start with a clean slate. Use an acetone-based nail polish remover to wipe away any existing polish or gel. This ensures no residue interferes with acrylic adhesion.
2. Trim and Shape Your Natural Nails
Trim nails to a manageable length and file them into your preferred shape—oval, square, or almond. This step shapes your nail beds to complement the acrylic form.
3. Push Back and Trim Cuticles
Gently push cuticles back using a cuticle pusher. Trim any excess skin, but avoid overcutting as it may cause irritation or infection. Healthy cuticles promote better acrylic application, and when paired with a nourishing cuticle oil, they stay soft and beautiful — perfect for those close-up selfies!
4. Buff Your Nails Lightly
Use a fine-grit buffer to scuff the surface of your nails lightly. This creates tiny grooves for the acrylic to cling to, improving durability. Be careful not to over-buff as it can thin your nails.
5. Cleanse with Alcohol or Nail Dehydrator
Wipe nails with 70% isopropyl alcohol or a professional nail dehydrator. This step eliminates leftover dust and oils to make sure acrylic adheres perfectly.
6. Apply Primer
Use an acrylic primer designed to chemically bond your natural nail with the acrylic product. Apply a thin coat and wait for it to dry completely before beginning acrylic application.
Complementary Beauty Tips for Your Acrylic Nail Day
Incorporate a Soothing Hand and Nail Skincare Routine
Before and after acrylic application, nurture your hands with moisturizing creams enriched with shea butter or vitamin E. Regularly applying cuticle oil keeps skin supple, enhancing the look of your manicure. Pair this with gentle exfoliation once a week for radiant, youthful hands.
Makeup and Outfit Ideas to Match Your Acrylics
Choosing your acrylic nail color can set the tone for your entire outfit and makeup look. For example:
- Classic Nude Acrylics: Pair with a fresh dewy makeup look—rosy cheeks, nude lips—and a soft pastel dress for effortless elegance.
- Bold Red or Burgundy Nails: Slay with a sleek monochrome black outfit and a bold cat-eye liner. The nails pop like a true power statement.
- Fun Glitter or Ombre Acrylics: Go for playful makeup—think shimmering highlighter and a glossy lip—and an eclectic mix of prints and textures in your outfit for festival vibes.
Expert Fashion Advice: How Your Acrylic Nails Can Elevate Your Style
Your acrylic nails are accessories in their own right! When styling your look, consider nail length and shape to complement your wardrobe:
- Short, squared nails: Perfect for casual chic or corporate office wear.
- Long, almond-shaped acrylics: Ideal for glamorous evenings or weddings.
- Sharp stiletto nails: Edgy, statement-making for fashion-forward events or nights out.
Pro tip: Match your acrylic tone or design with one element of your outfit (jewelry, handbag, or shoes) to create a cohesive, polished aesthetic.
Frequently Asked Questions About How to Prep Nails for Acrylics
Once you’ve applied the primer, wait until it’s completely dry—usually about 60 seconds. Rushing this step can compromise the bond and cause lifting.
You can prep your nails at home if you have the right tools and patience. However, professional salons use specialized products and techniques for flawless results and hygiene assurance.
Daily moisturizing with a quality cuticle oil is recommended to keep cuticles healthy and prevent dryness or peeling, which enhances the longevity and appearance of your acrylic manicure.
In Conclusion: Master the Art of How to Prep Nails for Acrylics
Taking the time to properly prepare your nails before acrylic application is the secret behind every enviable manicure. The process not only ensures durability but also protects the health of your natural nails, helping you maintain a consistent, radiant look that pairs seamlessly with your beauty and fashion inspirations.
Ready to elevate your nail game? Start by perfecting your prep routine, then explore effortless makeup ideas and outfit combinations that accentuate your stunning acrylics. For more beauty inspiration, check out our skincare tips, discover fresh makeup trends, and browse our ultimate fashion guides to shine inside and out.
Go ahead, embrace the beauty of your nails—because the right prep means flawless, head-turning nails every time!


