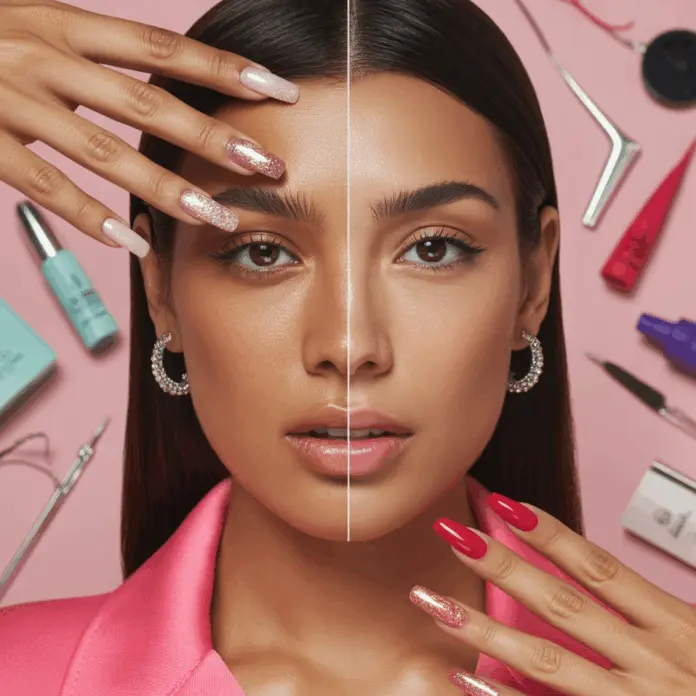
Ever glanced at your nails mid-week and wished for a fresh, polished acrylic look like you just stepped out of your favorite salon? But also felt that appointment booking hassle, the wait, and those unexpected expenses? You’re not alone. DIY acrylic nails have become a beauty trend that’s not only budget-friendly but incredibly satisfying—and with the right tools and know-how, you can achieve flawless salon-quality results from the comfort of your own space. Curious about what you need to get started? Let’s dive in!
Why Choose DIY Acrylic Nails?
From boosting your confidence with long-lasting, durable nails to perfectly complementing your chic outfits and makeup, acrylic nails have become a staple in modern beauty routines. Doing them yourself means complete creative control over your nail shapes, colors, and designs and saves you time and money. Plus, it’s a fun beauty ritual that allows you to stay fabulous on your own terms.
Essential Supplies for DIY Acrylic Nails: Here’s What You Need
Getting started with DIY acrylic nails means investing in the right tools for a safe and professional finish. Below is a comprehensive checklist of must-have items:
1. Acrylic Nail Kit
- Acrylic Powder and Liquid Monomer: These are the building blocks for your acrylic nails. Choose non-toxic formulas for a healthier nail experience.
- Nail Brushes: A size 8 or 10 acrylic brush with a fine tip allows precise application.
- Nail Tips or Forms: Pre-shaped nail tips or nail forms help you sculpt the perfect length and shape.
2. Nail Prep Tools
- Electric Nail File or Buffer: For shaping your nails and smoothing the surface.
- Cuticle Pusher: Gently pushes back cuticles for neat edges.
- Primer or Dehydrator: Ensures the acrylic adheres well by removing oils and moisture.
3. Finishing Essentials
- Top Coat: Adds shine and protects your design.
- Glass Nail File: For final shaping and smoothing without damage.
- Cuticle Oil: Hydrates cuticles and maintains nail health after application.
Step-by-Step DIY Acrylic Nails Application Tips
Ready to put those supplies to good use? Here’s a simple process that will help you master your DIY acrylic nails:
- Prep your nails: Remove old polish, push back cuticles, and lightly buff your nail surface.
- Apply nail tips or forms: Choose your preferred length and secure them properly.
- Apply primer/dehydrator: This is key to prevent lifting.
- Mix acrylic liquid and powder: Dip your brush and shape your acrylic carefully along the nail tip and natural nail.
- Shape and file: After drying, smooth out any rough edges and perfect the shape with your file.
- Seal with top coat: This gives a polished finish and prolongs durability.
- Moisturize cuticles: Apply cuticle oil daily to keep nails and skin healthy.
Beauty Routines to Complement Your DIY Acrylic Nails
Well-manicured nails deserve skin and makeup that elevate your look. Incorporate these beauty tips alongside your DIY acrylic nails for ultimate glam:
Skincare: The Foundation of Flawless Hands
- Hydrate your hands daily with a nourishing hand cream—consider one with shea butter or vitamin E for softness.
- Exfoliate your hands gently once a week to remove dead skin and enhance smoothness.
- Don’t forget sunscreen on your hands to prevent premature aging and yellowing of nails.
Makeup and Outfit Pairings
Acrylic nails provide an elegant finishing touch to your look. Depending on your nail style, here’s some inspiration:
- Soft pink or nude nails: Perfect for minimalistic outfits—think crisp white shirts and tailored pants for a clean, professional vibe.
- Bold reds or jewel tones: Pair with black leather jackets and statement makeup like a bold lip or sleek winged eyeliner.
- Intricate nail art or glitter: Complement with simple, monochromatic outfits to let your nails and makeup (think shimmery eyeshadow or highlighted cheekbones) do the talking.
Fashion Guide: Showcasing Your Acrylic Nails with Confidence
Your nails are a statement piece, so let them shine by pairing them with stylish outfits that emphasize your personality and style:
- Casual Chic: Denim with oversized sweaters or crop tops create an effortless look for weekend brunches.
- Office-Ready: Blazers, midi skirts, and kitten heels complement natural acrylics that enhance professionalism.
- Evening Elegance: Sequined dresses or silk blouses with long, sculpted acrylic nails add drama and sophistication.
Frequently Asked Questions About DIY Acrylic Nails
With proper application and care, DIY acrylic nails can last between 2 to 3 weeks before needing a fill or maintenance. Keeping cuticles moisturized and avoiding harsh chemicals extends their lifespan.
Yes! While it may seem intimidating, following proper hygiene, ventilation, and step-by-step instructions makes DIY acrylic nails safe and effective to do at home. Investing in quality products also reduces the risk of damage.
It’s best to carefully remove acrylic nails using an acetone soak or by gently filing them down to avoid damaging your natural nails. Avoid peeling or forcefully pulling off acrylics to maintain nail health.
Conclusion: Ready to Rock Your DIY Acrylic Nails?
Now that you know exactly what you need to start your DIY acrylic nails journey, it’s time to gather your supplies, carve out some “me time,” and create your perfect nails. Remember, beauty is all about expressing yourself—your nails are your personal canvas. Embrace the process, blend it with your favorite skincare routine, and style your nails alongside trending makeup looks and fashion choices to truly shine.
Feeling inspired? Check out our skincare tips to prep your hands perfectly before nail application, explore the latest makeup trends to integrate your nail look flawlessly, and browse our fashion guides for outfit ideas that highlight your stunning nails.
So, what are you waiting for? Grab that acrylic kit and start crafting your dream manicure today!


